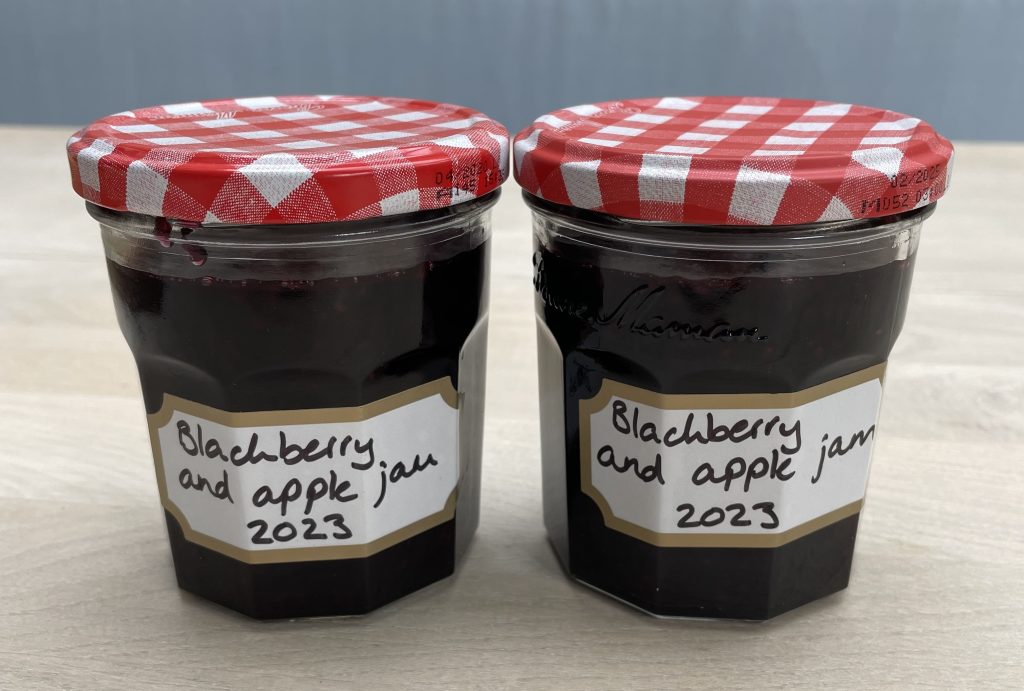
Deepdale Blackberry and Apple Jam Recipe
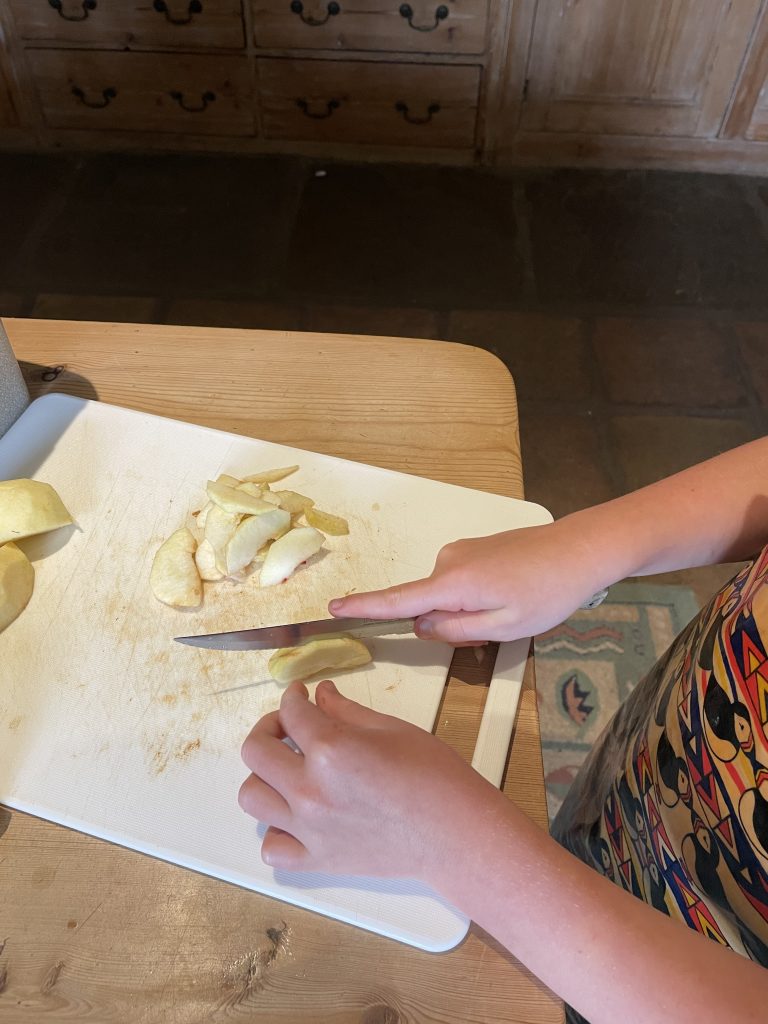
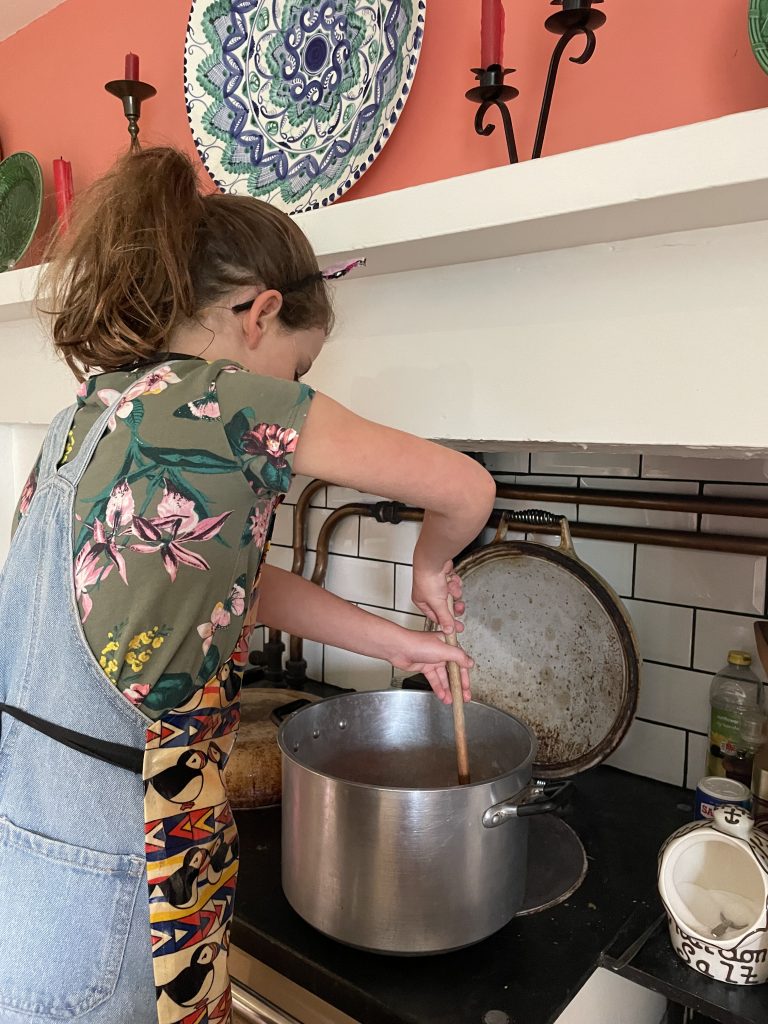
This is our family’s absolute favourite jam and to make it is always a family affair. The kids know where the apples have come from and have helped pick the blackberries. They help chop and stir and most importantly taste test! It’s a great gift for friends too.
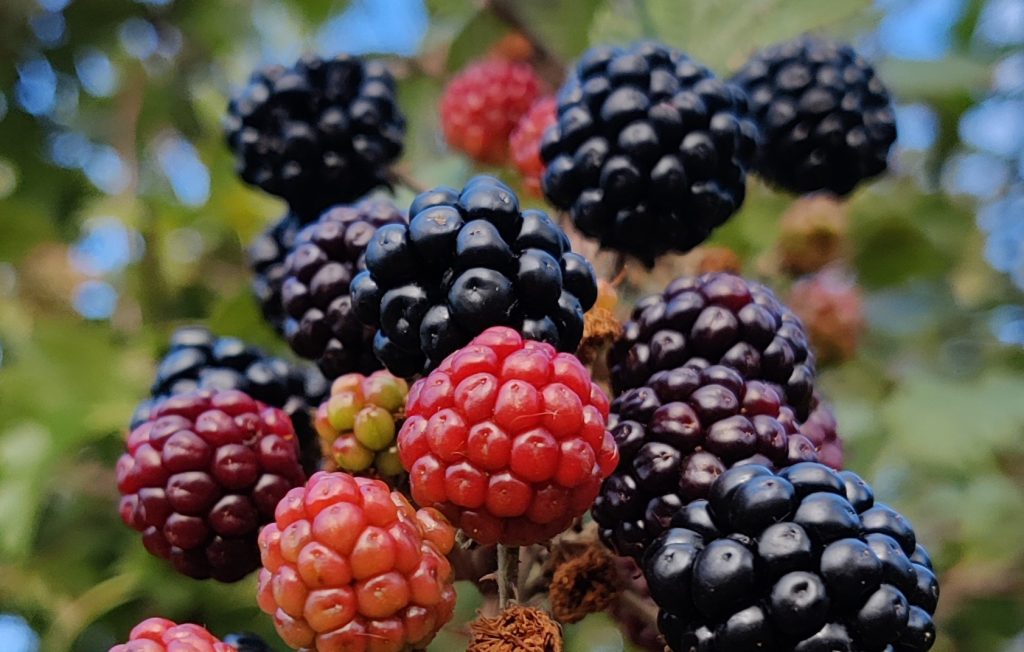
We are lucky to have an abundance of blackberries on the farm, plenty for us as well as the wildlife. But hopefully you have somewhere nearby you, where you can forage for enough to make a little jam.
A few tips
Because the apples contain pectin, we’ve found it best to use a mix of normal and jam sugar, otherwise the jam is very solid. You can vary the proportions of apples and blackberries, as long as overall you have 1kg of fruit.
If you don’t have any children helping you then it is really quick and simple to make. But it’s also a great weekend activity with kids. We often freeze our blackberries and make this jam during the summer holidays the following year. We don’t bother defrosting them before cooking, just chuck all the fruit together and start cooking.
We doubled the recipe this year and got about 12 x 350-400g jars. Luckily Granny has a big jam pan!
Ingredients
700g of blackberries
300g of peeled and cored apples
1kg of sugar (we use 50% granulated and 50% jam sugar, but use what you have)
1 lemon
100ml of water
Method
1. Prepare some jars. Ensure they are clean and then put both jars and lids in a low temperature oven for about 20 minutes. If you are reusing jars, then it’s good to lay them out carefully so you know which lid fits which jar!
2. Wash the blackberries to remove bugs, stalks and anything else that shouldn’t be there. A few red berries are fine and contain pectin, so will help to set the jam.
3. Peel, core and chop the apple into about 1cm chunks. We use a lot of windfalls for this jam as any bad parts can be chopped out.
4. Juice the lemon.
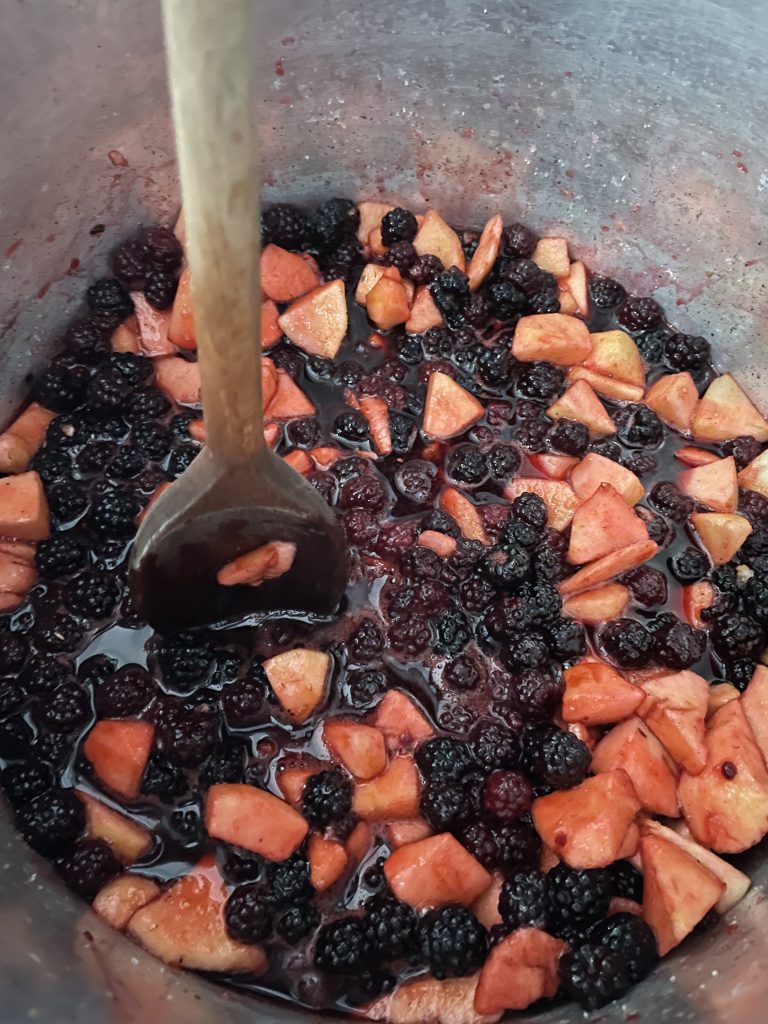
5. Add the blackberries, apples, lemon juice and water into a large saucepan. Ensure the pan is at least twice the height of the contents, because it does bubble up when the sugar is added. Put the pan on a medium heat and simmer for about 15 minutes until the apple is quite soft and the berries start to break apart.
6. Use a potato masher to crush the fruit so that the apple is evenly distributed throughout the mixture. It doesn’t need to be smooth and there will definitely still be lumps of blackberry.
7. Put a small plate in the freezer, for use later in step 8.
8. Add the sugar and turn up the heat so that the mixture quickly comes to the boil. It needs to boil rigorously for at least 5 minutes until the jam has reached setting point. There are a few ways to check this, but I find the easiest way is to put a side plate in the freezer until you think the jam might be ready. Put a spoonful of jam on the side plate and return it to the freezer for a minute, then drag your finger across the surface. If it wrinkles, it is ready, but if it’s still liquid then it needs to boil for longer. Test it every couple of minutes until it is ready.
9. Once setting point is achieved it’s time to jar up. Take your sterilised jars from the oven and allow to cool very slightly so you can handle them. We use a ladle to pour the mixture into a jug and then into the jar. But you could use a jam funnel or even the top of a milk carton to syphon the mixture into the jars. Seal with a wax disc and tighten the lid. As the jam cools, the lids should suction down.
10. Enjoy on toast, pancakes, ice cream or anything else that needs a dollop of deliciousness.